How to Hang a Travel Map Tapestry (So Your Pins Actually Stay Put)
Choosing a size that fits the wall, getting the creases out, and hanging it so your pins stay put, with renter-friendly options.
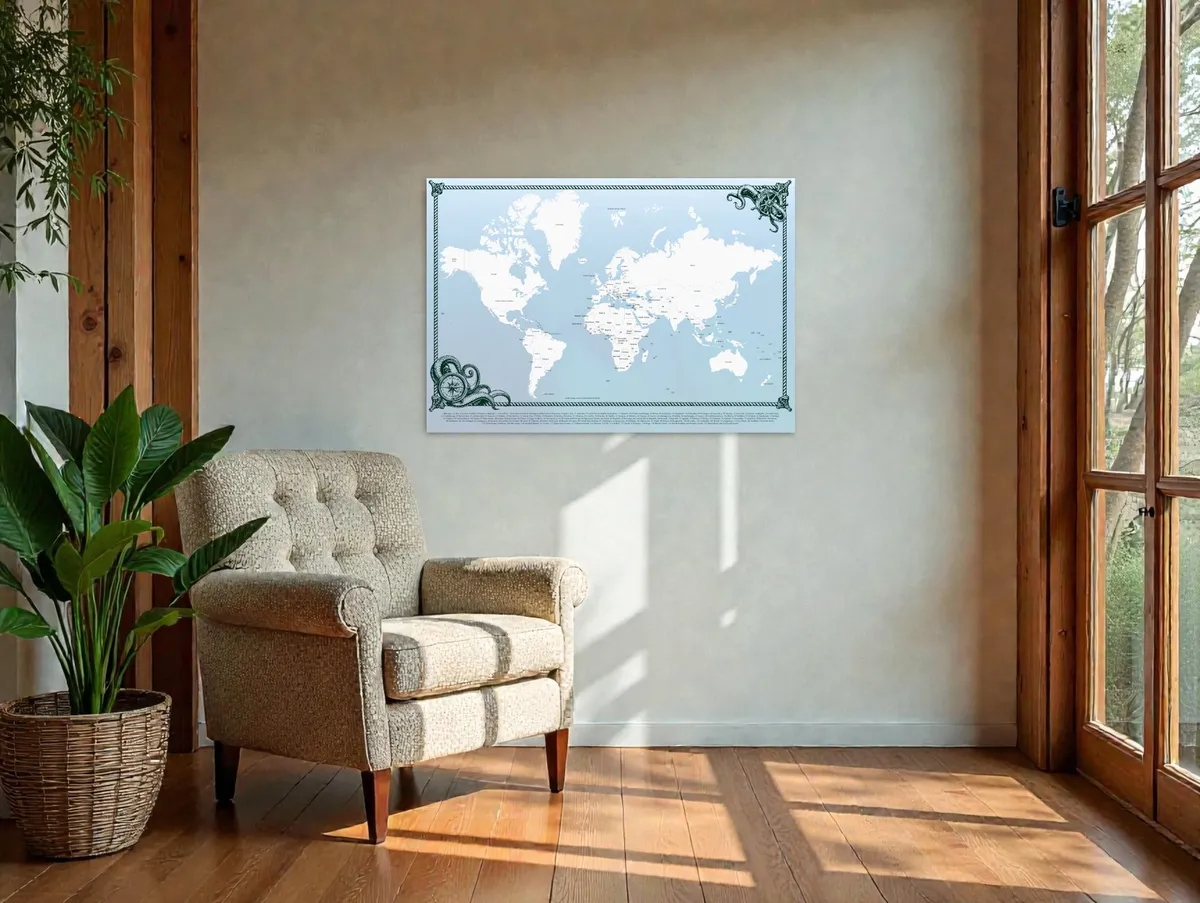
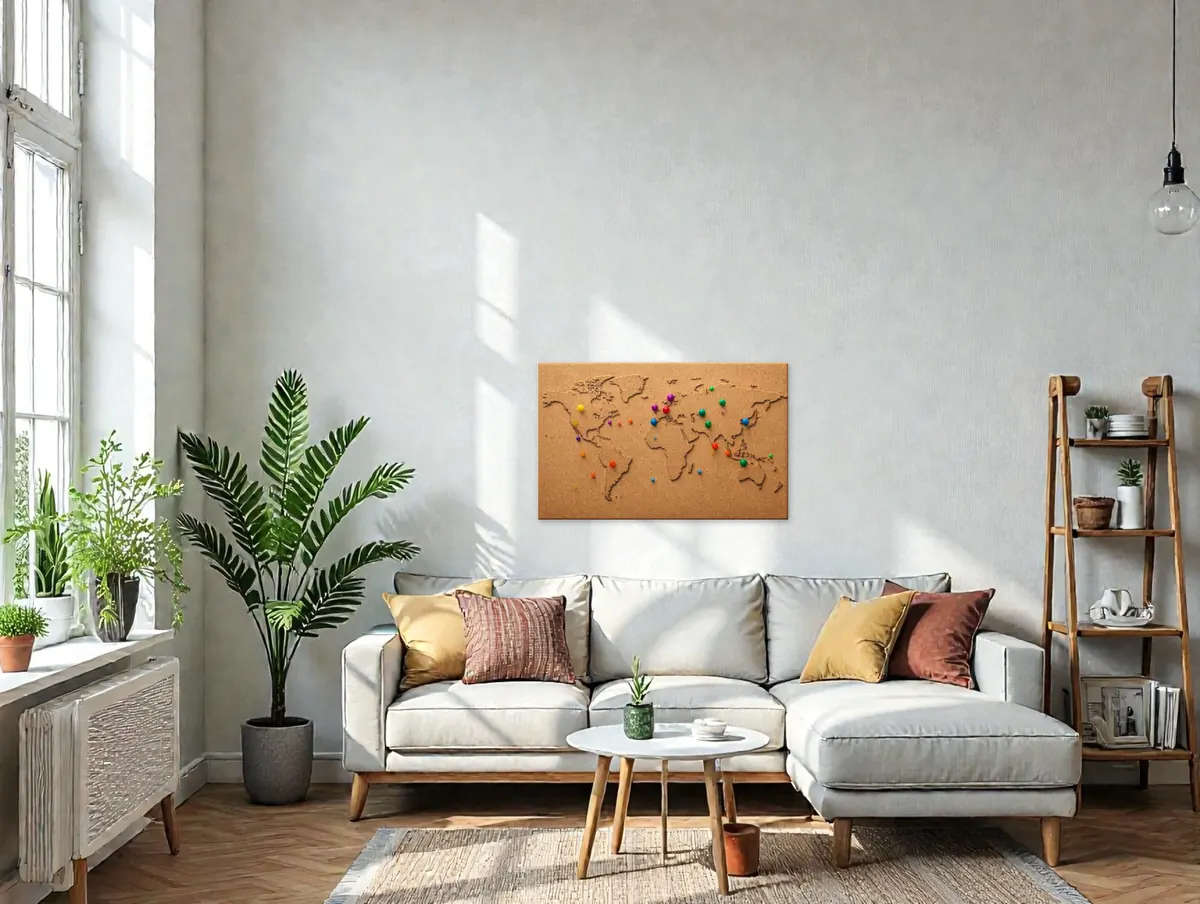
A fabric world map is about the easiest large piece of wall art you can hang. No glass, no heavy frame, and it rolls into a tube when you move. But a travel map has a second job most art doesn't: it has to hold pins, sometimes dozens of them, for years. The hanging method that looks great on day one can leave pins drooping out of the fabric a month later.
We pack every map we ship, and these are the questions we answer most. The short version: pick the size for the wall you actually have, decide what's going behind the map before you decide how to hang it, and take five minutes with a steamer first.
Pick the size for your wall
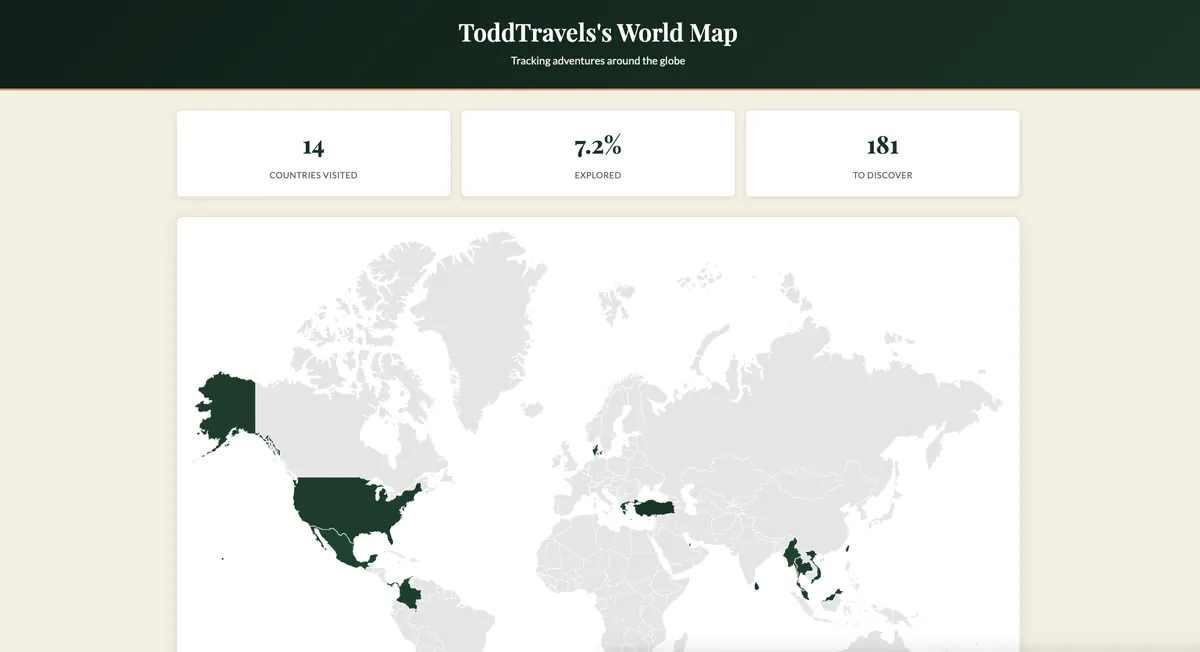
Measure first. Over a sofa, bed or dresser, a map that's about two-thirds as wide as the furniture looks deliberate; anything wider than the furniture starts to look like it's floating. Here are our four Nautilus sizes drawn to scale over a standard 84-inch sofa, so you can see the difference before you buy:
Two things the chart doesn't show:
- Bigger maps are easier to pin. Europe, the Caribbean and Southeast Asia crowd up fast. On the X-Large you can put a pin in Luxembourg without covering Belgium. If most of your travel is in one busy region, size up.
- Leave room to walk up to it. A map in a narrow hallway gets looked at sideways. Put it where someone can stand back, then step in close to read the places.
How high to hang it
Above furniture, leave 8 to 10 inches between the top of the sofa back (or headboard) and the bottom edge of the map. Closer looks cramped; much higher and the two stop looking like a pair. On an empty wall, use the gallery rule: the center of the map at 57 to 60 inches from the floor, which is roughly eye level for most adults.
Get the fold lines out first
Every fabric map arrives with some creases from packing. They're much easier to deal with before the map is on the wall.
- Read the care label. Follow whatever it says about heat.
- Steam it. A handheld steamer is gentlest. Hang the map from a door or shower rod and work across the back, slowly.
- Or iron on low, through a cloth. Face down, a thin cotton pillowcase on top, low heat, no steam blasting the print, iron always moving.
- Or let time do it. Light creases relax on their own over a few days if the map hangs slightly taut.
Skip the clothes dryer. High heat can dull a printed tapestry.
Decide what goes behind the map
There are really two decisions: how the map attaches to the wall, and what's behind it for your location pins to grip. People usually solve the first and forget the second. This table covers both.
| Method | How pins hold | Effort | Renters |
|---|---|---|---|
| Stretched over cork or foam board | Excellent, straight into the board | Medium | Yes, with picture hooks |
| Push pins into drywall | OK for a few pins; each one is a wall hole | Low | Small holes |
| Curtain rod or tension rod with clips | Needs pin backers | Low | Yes (tension rod: no holes) |
| Magnetic wooden poster hanger | Needs pin backers | Low | One nail |
| Removable adhesive strips | Needs backers or a light board | Low | Yes |
| Grommets on small hooks | Needs pin backers | Medium | Small holes |
Our pick if you'll keep adding pins: a backing board
Stretch the tapestry over cork board or foam board cut to size, wrap the edges around the back, and hold them with staples, pins or tape. Hang the board like a picture. Every pin you add then goes into something solid, stays straight and doesn't pull on the fabric. Foam board is light and cheap but thin, so use short pins or double it up. Cork tiles hold pins better over years of moving them around. For the Mongo, two or three panels side by side are easier to handle than one huge sheet.
If you'd rather not build anything: a rod or poster hanger
A curtain rod on two hooks, with clip rings along the top of the map, gives a soft, gallery look. In an alcove, a tension rod needs no holes at all. A magnetic wooden poster hanger clamps the top edge between two strips of wood and needs a single nail. With any of these the map hangs free, so there's nothing behind it. That's fine, as long as the pins can grip the fabric on their own.
Straight into the wall
A pin in each corner and a few along the top, fabric pulled gently taut, and you're done in two minutes. It holds the map up well. The catch is that your location pins go into drywall too, which works but leaves a hole per pin and crumbles if you move pins around a lot. Good for a map with a handful of trips on it.
Make the pins stay put
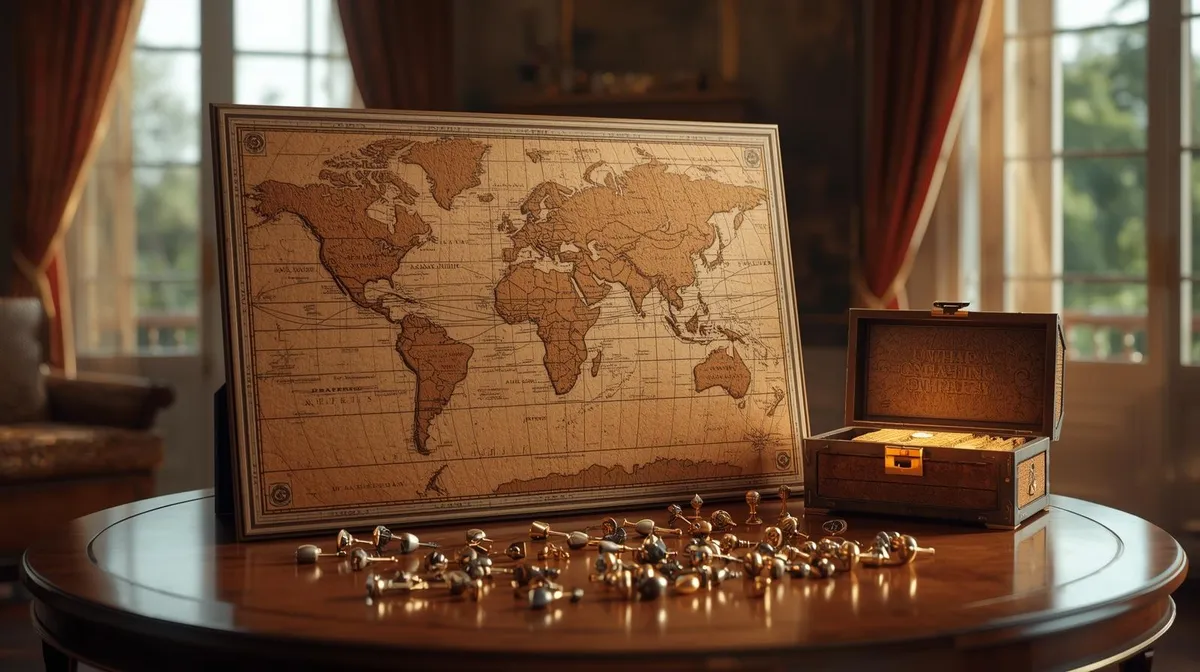
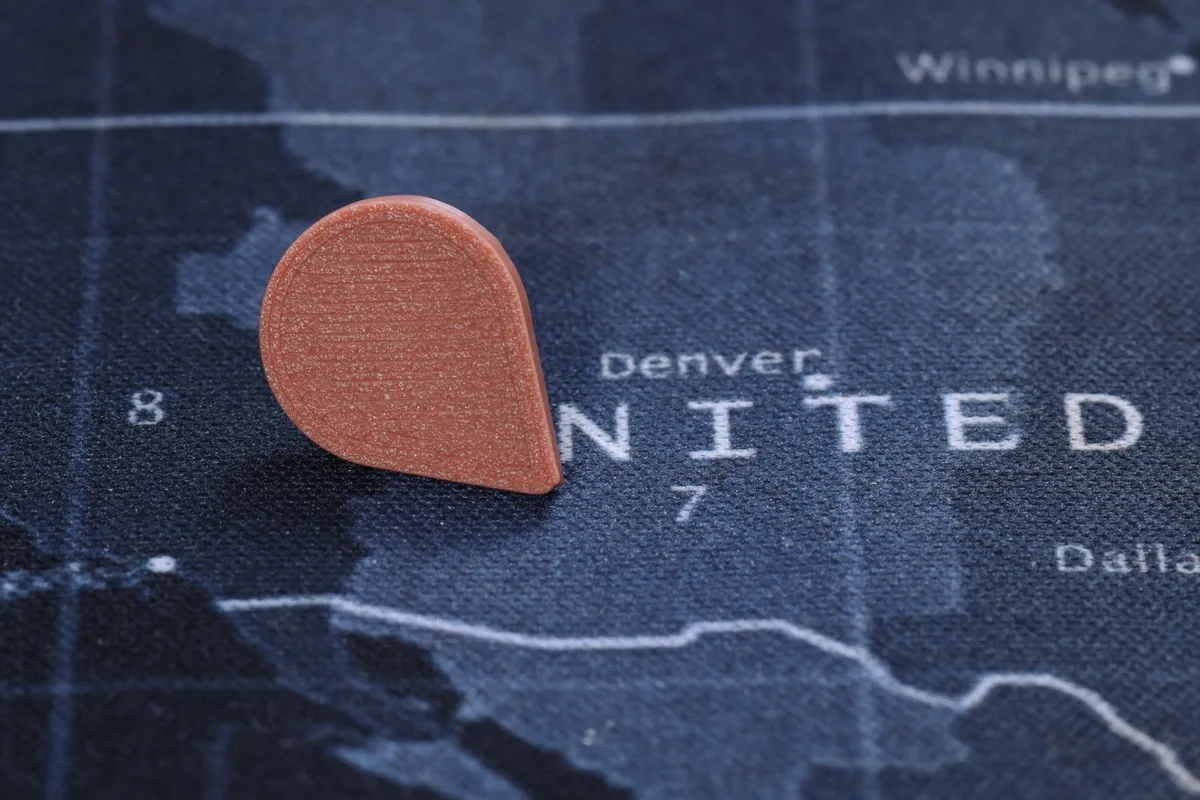
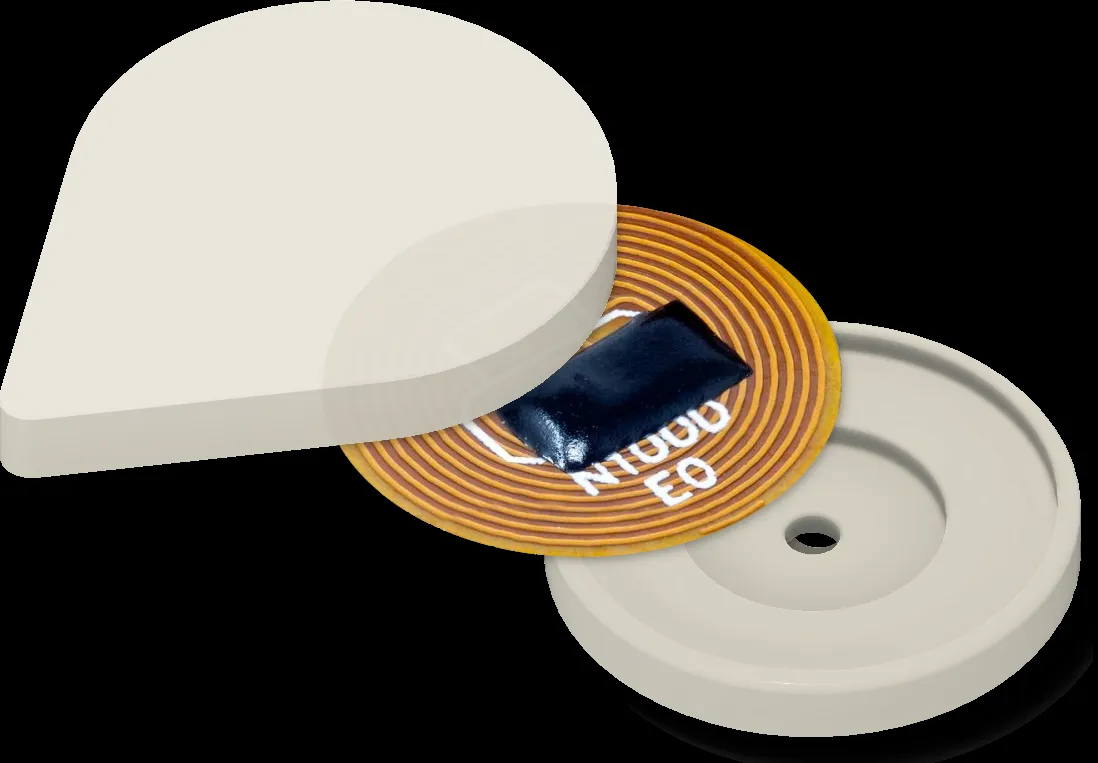
A pin that pokes through fabric on its own will slowly tilt and then fall out, usually the week before guests come over. On anything that isn't mounted on a board, give each pin a backer on the other side of the fabric. Our Touch-to-Travel pins ship with both metal and silicone backers for exactly this. Push the pin through, press a backer on from behind, and it stays snug in the tapestry.
A few habits that keep a busy map readable:
- Decide your colors before the first pin. One per person and a third for trips together, or one for "been" and one for "next."
- Angle pins slightly in crowded regions so heads don't cover the neighboring country.
- Put the favorite trips within reach. If you use NFC pins, a guest should be able to tap them without climbing on the sofa. Our setup guide shows how to point each pin at a trip in about a minute.
If you're renting
- Tension rods, a board leaning on a shelf or dresser, and removable strips on a light board all leave the walls alone.
- A single nail for a poster hanger patches with a dab of spackle when you move out. Most leases allow picture nails, but check yours.
- When you move, roll the map around a tube rather than folding it. It comes out with far fewer creases.
Sagging in the middle?
If a wide map dips between the corners, add two or three pins or strips along the top edge, or switch to a rod or poster hanger that supports the full width. Mounting it on a board ends the problem for good. And if you're wondering about frames: you don't need one. A board makes the edges crisper, but a tapestry is made to hang as is.