How to Display Travel Photos and Memories at Home, Room by Room
A big wall, a hallway, a shelf and everything that won't fit: where each kind of travel display works, with the measurements we use.
Most travel memories live in a phone nobody scrolls back through and a drawer of ticket stubs nobody opens. Getting them onto the walls is mostly a question of space: what works over a sofa is wrong for a hallway, and a shelf needs a different approach than either. So this guide goes room by room, with the measurements we use.
One rule first. Pick one anchor per room, whether that's a map, a set of frames or a single shelf, and let everything else support it. Six small trip displays scattered through a house read as clutter. One good one reads as a story.
One big wall: a map as the anchor
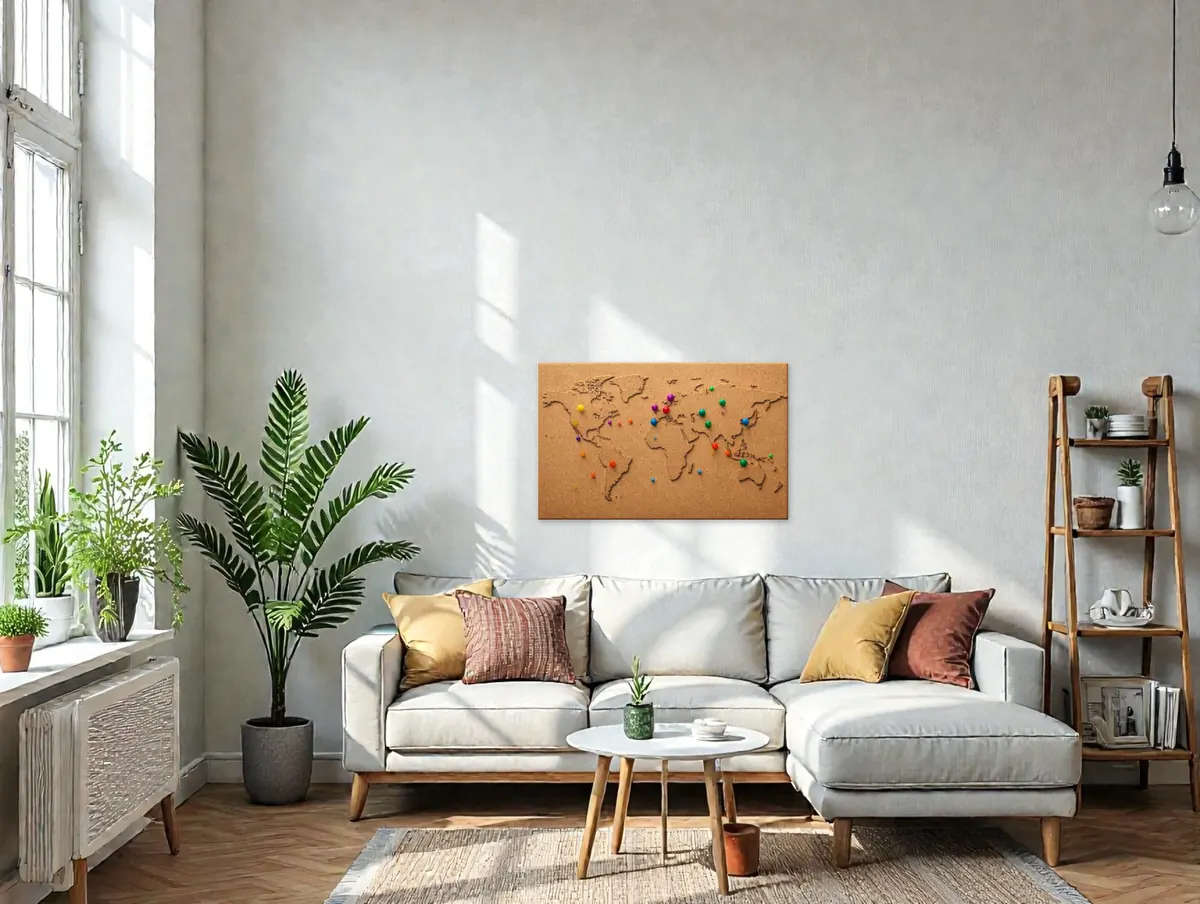
A large wall, usually over a sofa, a bed or a desk, is the one place a world map really works. It can hold every trip at once and still have room for the ones you haven't taken.
Get the size right
Aim for a map roughly two-thirds the width of the furniture under it. Over a standard 84-inch sofa that means something around 48 to 60 inches wide. Go smaller and it looks like it floated there by accident; go wider than the sofa and it starts to feel like wallpaper. Here's how our four sizes sit over that sofa, drawn to scale:
Hang it at the right height
- Over furniture: leave 8 to 10 inches between the top of the sofa back and the bottom of the map. Much more and the two stop looking connected.
- On an empty wall: put the center of the map about 57 to 60 inches from the floor, the height galleries use for art.
- Fabric maps hang from push pins, grommets or a curtain rod, no frame needed. If you want pins to hold firmly, mount the map on cork or foam board first. Our guide to hanging a map tapestry walks through each method.
Make the pins say more than "we were here"
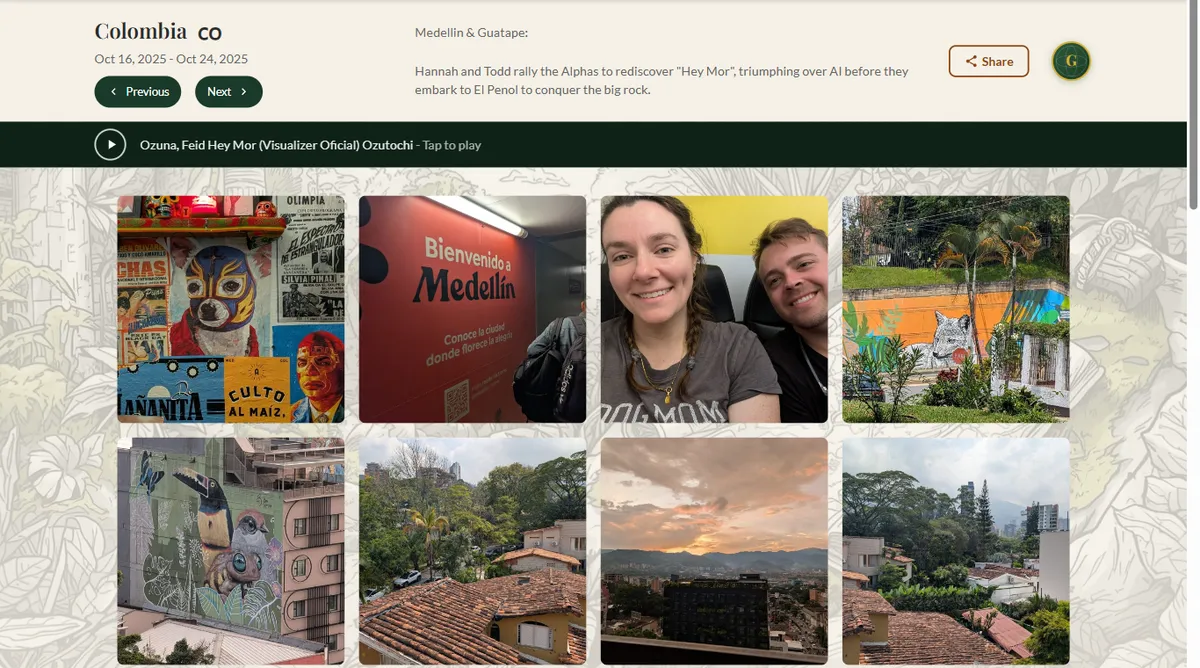
A pin on a map tells you where. It doesn't tell you what happened, and that's usually what guests actually ask about. It's the problem we started this company to fix. Our Touch-to-Travel pins hold a small NFC chip: tap one with a phone and that trip's page opens in the browser. Here's what a guest sees when they tap a pin that points to our Colombia trip:
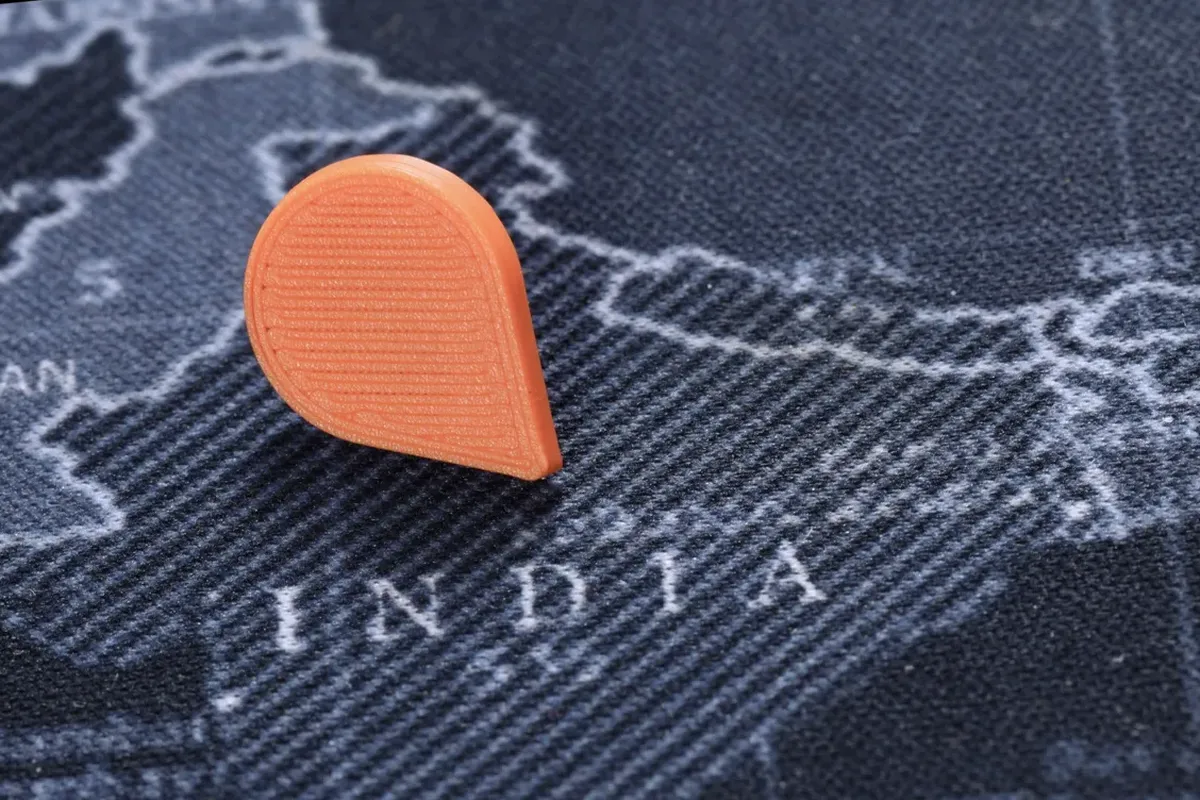 1. Tap the pin with a phone
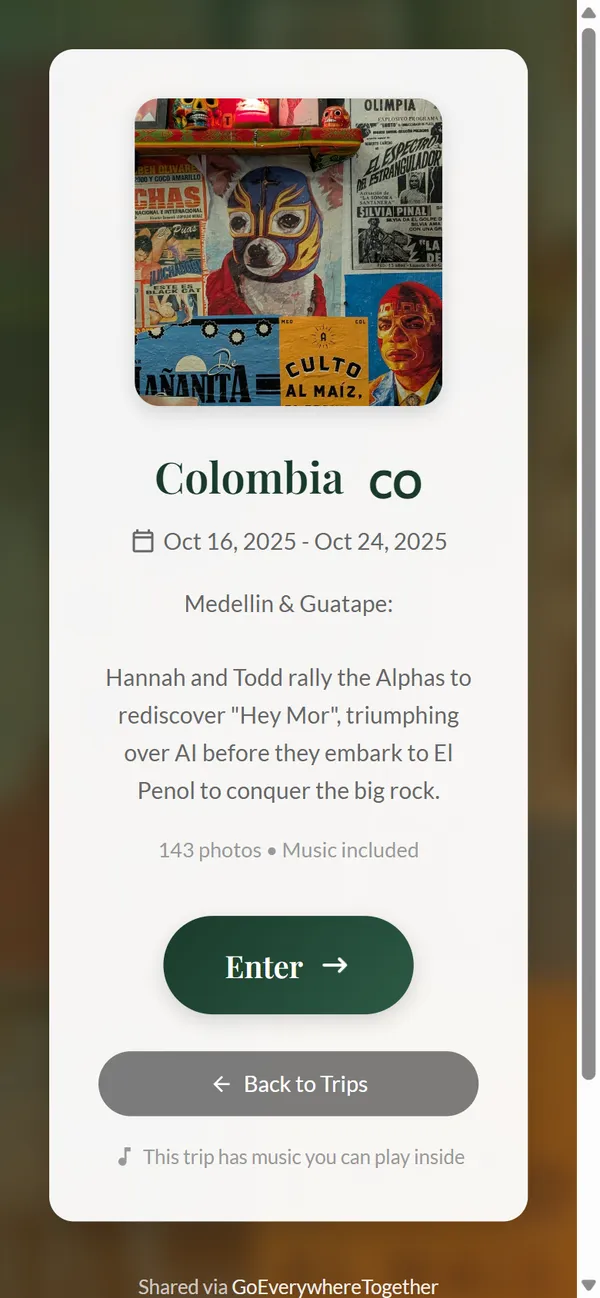 2. The trip opens in the browser
The pins work on any map that takes push pins, including one you already own. On a free account a pin can open your world map, a text trip page or any link; the Globetrotter Club adds the photo galleries and the song. Setup takes about a minute per pin, and here's how it works.
A hallway: a row, not a grid
Hallways are seen while walking, from a few feet away, so a big grid of photos turns into a blur. A single row works better.
- One row at eye level, centered around 57 inches, with the same frame style and color throughout. Mismatched photos look like a set in matching frames.
- Two to three inches between frames. Plan it on the floor, trace each frame onto paper, and tape the paper to the wall before you put a single nail in.
- One trip per frame, in order. A hallway is naturally a timeline. Put the oldest trip nearest the door.
- Pick photos with people in them. The landscape shots are beautiful; the ones you'll stop and look at in ten years have faces.
- Keep things flat. Shadow boxes and push pins stick out, and hallways get bumped. Save the 3D pieces for a shelf.
A shelf: objects, with labels
Shells, coins, a boarding pass, a tiny bottle of sand: small objects need a shelf, not a wall. Two ways to do it well.
Shadow boxes, one per trip
Look for boxes at least 1.5 to 2 inches deep so objects don't press against the glass. Fix things with pins or removable adhesive dots rather than glue so you can rearrange later, and keep paper out of direct sun. Add a small printed label with the place and the year. Without it, in five years nobody will remember which beach the shell came from.
A themed row
If you collect one kind of thing, like mugs from every city or local ceramics, a single floating shelf about 8 to 10 inches deep holds a row of them without looking like a gift shop. Leave gaps. A packed shelf disappears into the wall; a sparse one gets looked at.
A picture ledge (3 to 4 inches deep) is also worth knowing about. Frames lean on it instead of hanging, so you can swap in the latest trip without new holes in the wall.
Digital: for everything that won't fit
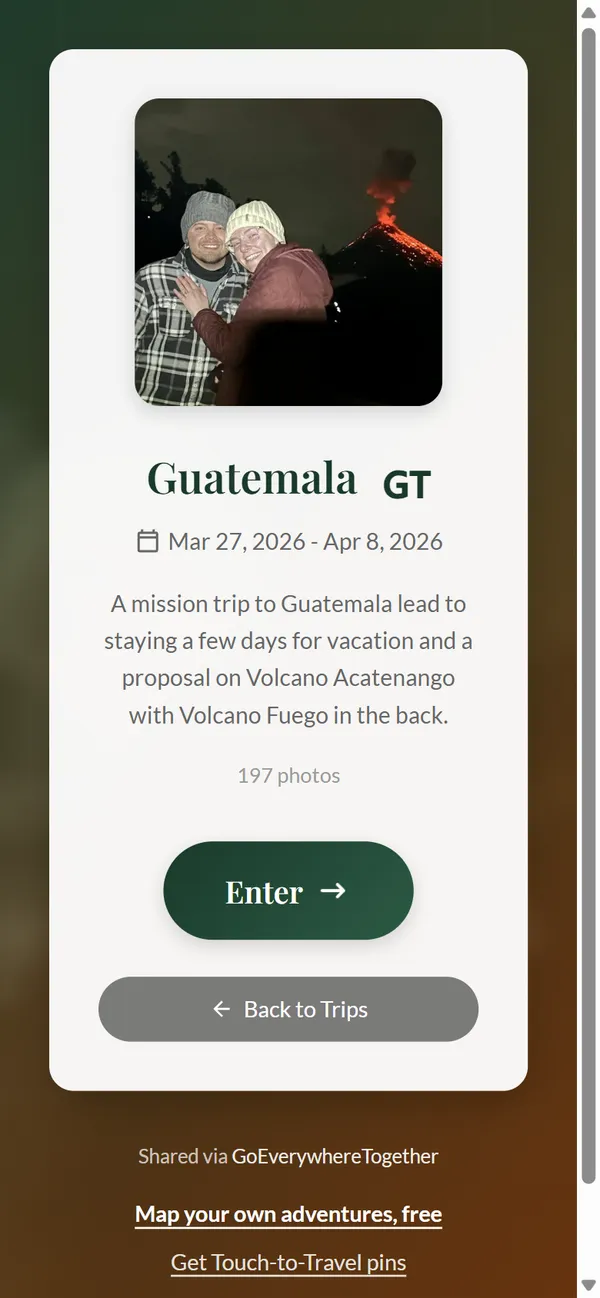
No wall holds 197 photos from one trip, and that's how many are on our Guatemala trip page. That's normal. The rest need somewhere to live that isn't a camera roll.
- A digital frame set to shuffle a folder per trip is the lowest-effort option, as long as someone keeps adding to it.
- A printed photo book per trip holds 30 to 60 of the best photos with captions. Make it within a month of getting home, while you still know which beach was which.
- A trip page keeps the whole gallery, the story and the song together, and it's what a tap-to-open pin points to. Our own list isn't finished either: Todd's five weeks in Thailand from 2021 is still just a country and a date, with no photos on it yet.
If your photos are the actual problem, our guide on what to do with travel photos has a simple system for sorting a backlog.
Quick answers
How do I display travel photos without it looking cluttered?
One anchor per room, one frame style, and fewer, bigger photos. Let the rest live in a photo book or behind a pin, where people can explore if they're curious.
How high should I hang a travel map?
Over furniture, 8 to 10 inches above the top of it. On a bare wall, center it around 57 to 60 inches from the floor.
Can I use tap-to-open pins on a map I already have?
Yes. Touch-to-Travel pins work in any map that takes push pins, fabric or cork, and come with metal and silicone backers to hold tight in fabric.