Travel Shadow Box Ideas (and How to Make One)
Ticket stubs, coins, a shell from the beach. How to pick the box, lay it out and mount things so they still look good in ten years.
Every trip leaves behind a little pile: the train ticket, a few coins you never spent, a wristband, a shell somebody picked up on the last morning. Left in a drawer, that pile is clutter. Behind glass with a label, it's the best thing on the wall.
We don't sell shadow boxes, so this is a straight how-to. What to keep, how deep the box needs to be, three layouts that work, and how to mount things so the ink and paper still look right in ten years. If you want the box to open the trip's photos with a tap, there's a section on that near the end.
What to keep from a trip
Pick things that are flat or small, and that you'd point at when telling the story. Six to ten pieces is plenty for one box. More than that and nothing stands out.
- Tickets and passesTrain, museum, ferry, a boarding pass. Paper tickets age best; thermal receipts fade.
- Small objectsA shell, a stone, a bottle cap, a cork from the dinner you still talk about.
- A piece of the mapThe corner of a city map with your route on it, or the hotel's hand-drawn directions.
- Something with wordsA menu, a postcard, a note, a label in another language.
- One photoJust one, printed small. It gives the objects a face.
- Place and yearA small printed label. Skip it and in five years nobody remembers which beach.
Thermal paper (most receipts and many modern tickets) fades in light within a year or two. If one matters, photograph or photocopy it and display the copy, and keep the original in an envelope.
How deep should the box be?
Depth is the thing people get wrong most. A box that's too shallow squashes objects against the glass; one that's too deep makes flat paper look lost. Measure your thickest piece and add a little room.
Common front sizes are 8 by 10, 11 by 14 and 12 by 12 inches. For one trip, 8 by 10 is usually enough. A 12 by 12 suits a big trip or a year of small ones.
Three layouts that work
The ticket grid
This one suits city trips and rail trips, where the tickets are the story. Keep every piece the same orientation and the gaps even, about half an inch. It looks designed even when the tickets are all different shapes.
One hero object
For trips with one thing worth keeping: the shell, the carved figure, the key to a place you stayed. Put it slightly above center, a strip of map with your route behind or above it, and the label underneath. It's the easiest of the three to get right.
Trip in one box
A photo top left, paper to its right, small objects below, the label along the bottom. This is the one to use when a trip was big enough that you want everything in one place. Leave a spot for a pin if you plan to add the tap-to-open idea below.
Mounting without ruining anything
If something matters to you, pay for UV-filtering glass or acrylic. Ink and photos fade in sunlight faster than you'd expect, and a hallway that gets afternoon sun will show it within a couple of years. Acrylic is lighter and won't shatter, which matters in a kid's room or a big box.
Add a tap to open the trip
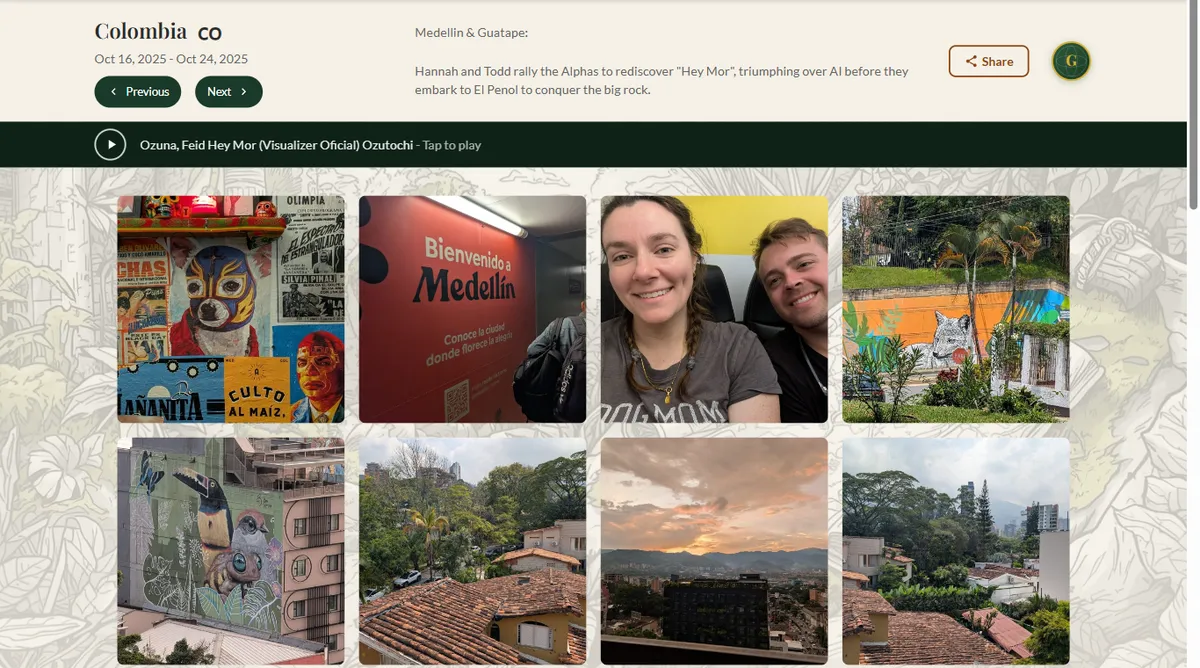
This is where our pins come in, and it's optional. A Touch-to-Travel pin opens a web page when a phone touches it: a trip page with the photos, your map, or any link you choose. Put one in the box and a tap on the glass brings up the whole trip, including everything that didn't fit behind it.
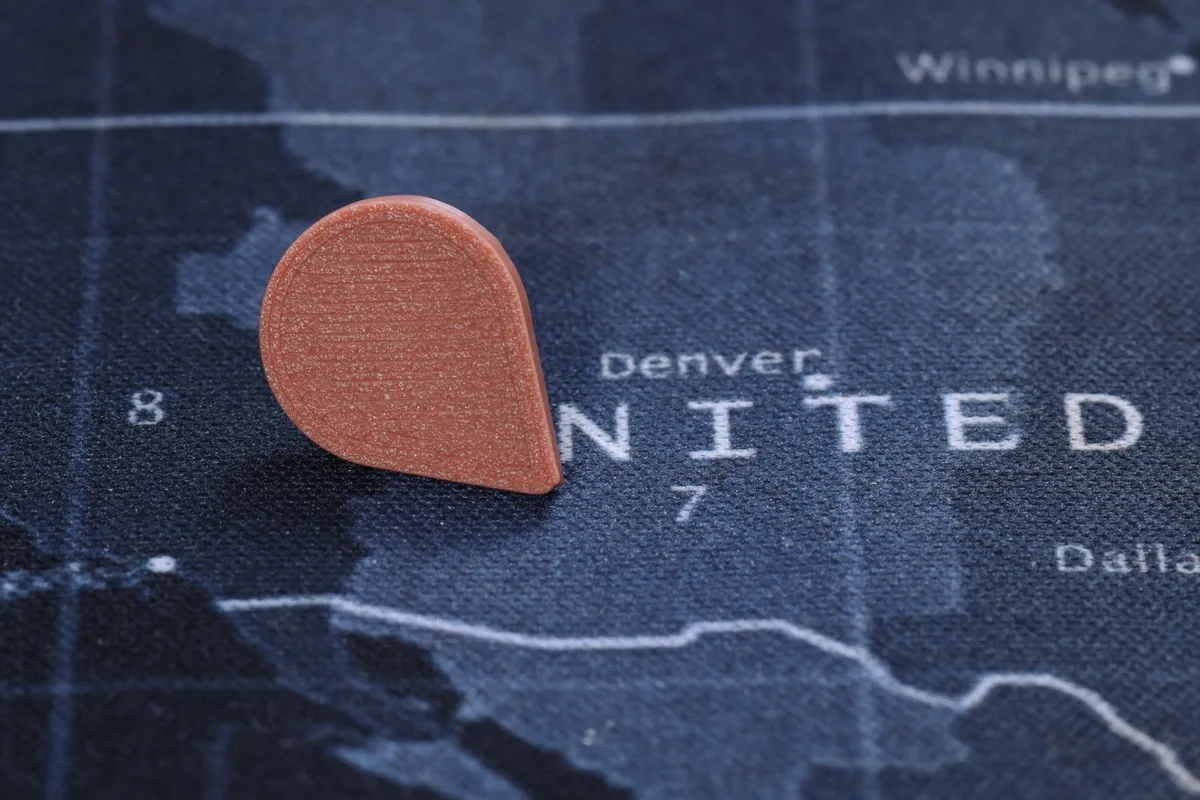 1. Tap the pin with a phone
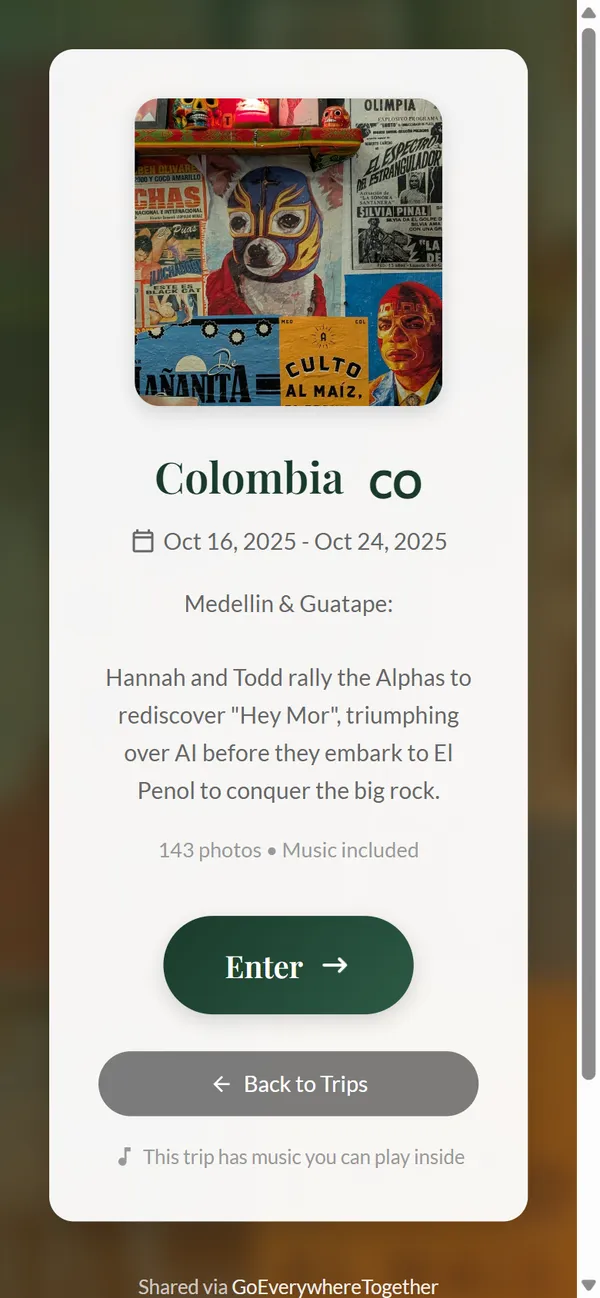 2. The trip opens in the browser
NFC only reads over a very short distance, a few centimeters at most. So:
- Mount the pin right behind the glass, on the front of a spacer or a raised block, not on the backing three inches back.
- Keep it away from metal. Metal frame parts and hanging hardware can block the signal.
- Test with your phone before you seal the box. Tap the closed glass where the pin sits and make sure the page opens. If it doesn't, bring the pin closer.
- Mark the spot. A small label ("tap here") saves guests from waving a phone around the whole frame.
Setting up a pin takes about a minute; our setup guide walks through it. A pin can open a free text trip page or any link without a subscription. Photo galleries and a song on the trip page come with the Globetrotter Club.
Where to hang them
Shadow boxes are deep, so hallways and tight spots are risky; they get bumped. A shelf, a wall above a desk, or a row of matching boxes along a staircase works well. Hang the center at about 57 to 60 inches from the floor, the same height galleries use, and keep all the boxes in a row at the same height. For how boxes fit alongside a map and photos, see our guide to displaying travel photos at home.
One last tip: make the box within a month of getting home, while you still remember which coin came from where. The pile only gets harder to sort.